
In Part 1 we setup the project and the main application layout with a TabView control. Now we are moving to the Settings screen and the Maximum Operating Depth (MOD) Calculator screen
Views and Models
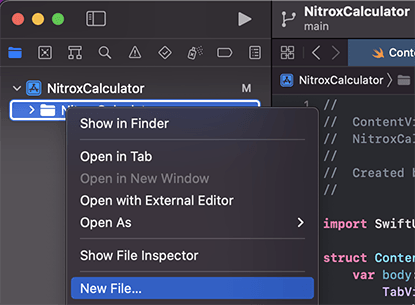
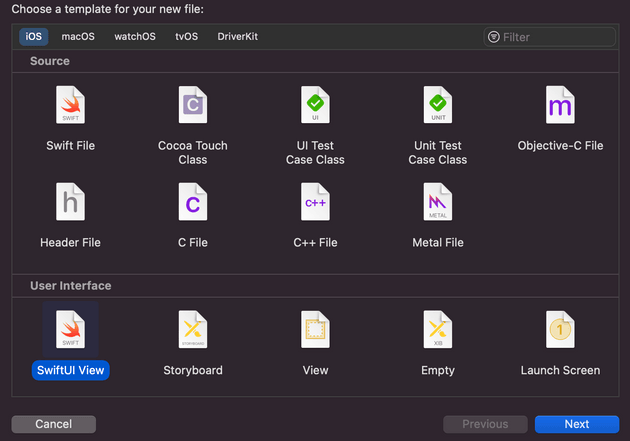
Let's start by creating views for the two tabs - MODCalculatorView and SettingsView. Select New File... and pick SwiftUI View. We'll also need a regular Swift File for our Model where we'll define a few types for the application settings.
Now we can replace the placeholders in ContentView with the new views that we just created:
struct ContentView: View {
    var body: some View {
        TabView {
            MODCalculatorView().tabItem {
                Label("MOD", systemImage: "gauge")
            }

            SettingsView().tabItem {
                Label("Settings", systemImage: "gear")
            }
        }
    }
}
Model
We have a requirement that the app should support both Metric and Imperial measures. In Model.swift we will define a simple enum for Unit:
enum Unit: String, CaseIterable, Identifiable {
    case metric = "Metric"
    case imperial = "Imperial"

    var id: Self { self }
}
We explicitly have it defined as String and CaseIterable which will allow us to easily integrate it into a Picker
Settings View
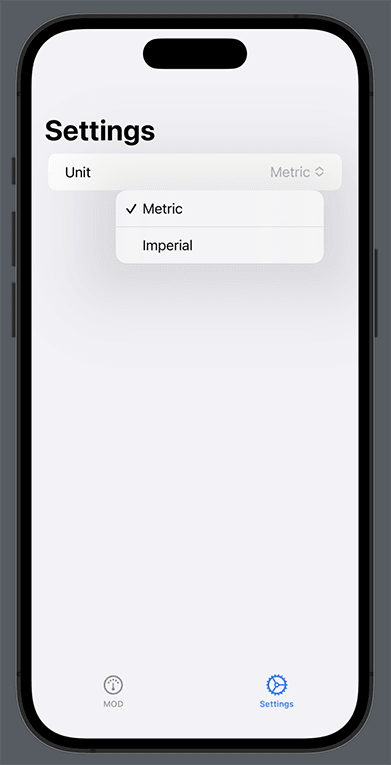
Now let's define the SettingsView
struct SettingsView: View {
    @AppStorage("unit") var unit: Unit = Unit.metric

    var body: some View {
        NavigationStack {
            Form {
                Picker("Unit", selection: $unit) {
                    ForEach(Unit.allCases, id: \.self) { value in
                        Text(value.rawValue).tag(value)
                    }
                }
            }
                .navigationTitle("Settings")
        }
    }
}
@AppStorage is a handy property wrapper that can save and load a value from the UserDefaults. In this case, the default value is assigned to metric because 95% of the World uses the Metric System (sorry USA 😉), but hey, at least our little app will support (and remember your choice) if you decide to switch to Imperial.
It's all wrapped in a NavigationStack so that we can get a nice header for free, and the Picker is bound to the AppStorage unit variable.
MODCalculator View
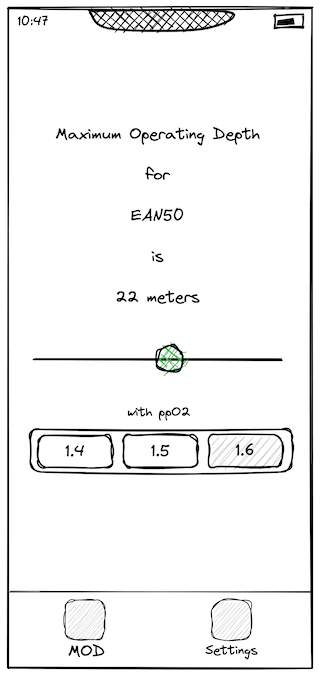
Now we can switch to the calculator view. From the wireframe in Part 1 we can see we need to center the UI, we need a few Text elements, a Slider, and a Segment Picker.
The Slider will update the fO2, fraction of Oxygen, and will have a default value of 21 (the value for Air) and a range between 21 and 100.
For ppO2, Partial Pressure of Oxygen (ppO₂), we'll have three possible values 1.4, 1.5, and 1.6.
Let's start with a very basic layout:
struct MODCalculatorView: View {
    @AppStorage("unit") var unit: Unit = Unit.metric
    @State var ppO2: Double = 1.4
    @State var fO2: Double = 21

    var body: some View {
        VStack {
            Spacer()
            VStack {
                Text("Max Operating Depth")
                Text("for")
                Text("EAN \(fO2, specifier: "%0.0f")")
                Text("is")
                Text("? \(unit == .metric ? "meters" : "feet")")

                Slider(
                    value: $fO2,
                    in: 21...100,
                    step: 1)
                    .padding()

                Text("with ppO₂")

                Picker("ppO2", selection: $ppO2) {
                    Text("1.4").tag(1.4)
                    Text("1.5").tag(1.5)
                    Text("1.6").tag(1.6)
                }
                    .pickerStyle(.segmented)
                    .padding()
            }
            Spacer()
        }
    }
}
VStack arranges the child elements vertically, and the two Spacer elements allow us to center the UI. The Slider value is bound to fO2 and the Picker is bound to ppO2. That's done using a special syntax with $ (dollar sign) on a Binding<T> property exposed by the control.
Not too bad for a start, but we can make it look a little bit nicer. Let's define two extensions on Text:
extension Text {
    func strong() -> some View {
        self.font(.title)
            .fontWeight(.bold)
            .padding(4)
    }

    func light() -> some View {
        self.font(.title2)
            .padding(4)
    }
}
and apply some styling on the text
Text("Max Operating Depth")
    .multilineTextAlignment(.center)
    .font(.title)
    .padding(4)
Text("for").light()
Text("EAN \(fO2, specifier: "%0.0f")").strong()
Text("is").light()
Text("? \(unit == .metric ? "meters" : "feet")").strong()
// ...
Text("with ppO₂").font(.subheadline)
Result

Next
Next, we will implement the calculations and wire up the calculator screen...